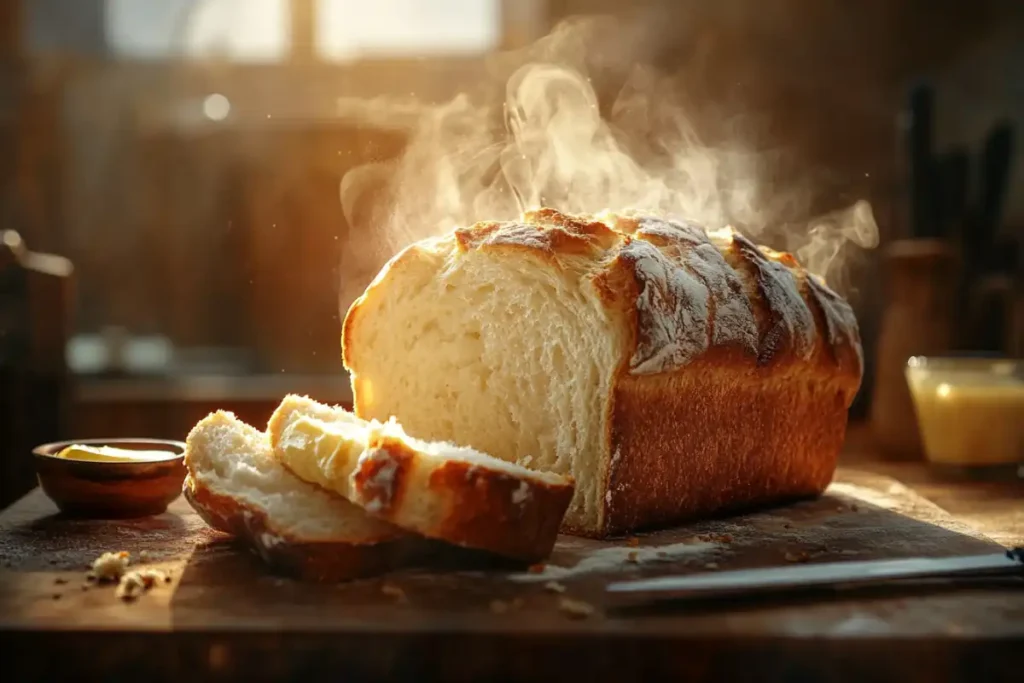
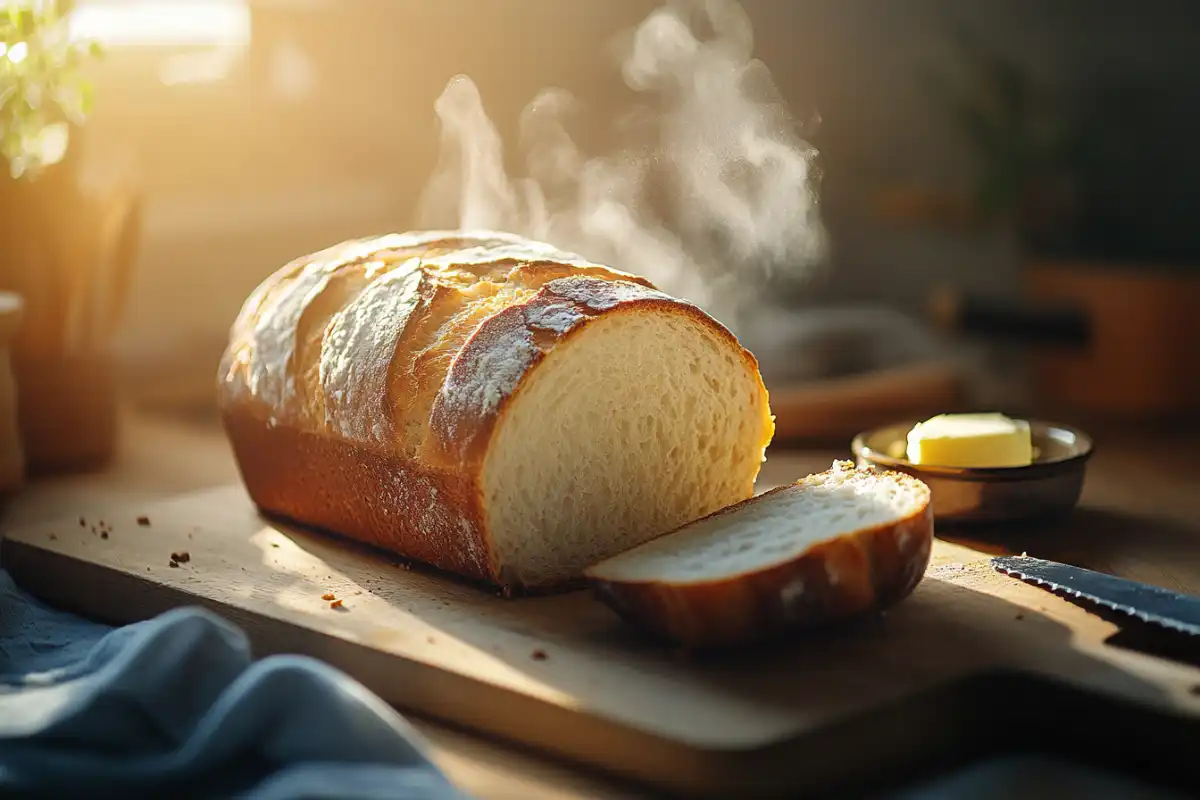
Homemade bread has an undeniable charm, doesn’t it? The aroma of fresh bread wafting through your kitchen can transport anyone to a state of bliss. But making moist, tender bread can be quite the challenge. If you’ve ever wondered, “What is the secret to moist homemade bread?”, this article dives deep into the tips, techniques, and science behind creating perfectly soft and flavorful loaves. Let’s embark on this journey together and explore the art of making bread that’s as moist and delightful as it can be!
Introduction and Importance of Moist Homemade Bread
Introduction
Homemade bread holds a special place in many kitchens around the world. Unlike store-bought varieties, homemade bread is often fresher, more flavorful, and free from unnecessary preservatives. However, achieving that perfectly moist and tender texture can sometimes feel like chasing a mirage.
Why does this matter? Well, dry bread is not only unappetizing but also lacks the luxurious texture that makes every bite a delight. The quest for moist bread is more than just a culinary goal—it’s a journey into the chemistry of baking and the artistry of technique.
Why Moisture Matters in Homemade Bread
Moisture is essential to bread for several reasons. Not only does it create a tender crumb, but it also enhances the bread’s flavor and overall eating experience. Dry bread, on the other hand, crumbles too easily, feels tough, and may taste stale even when it’s fresh.
Moist bread allows for a perfect balance of chewiness and softness, making it versatile for everything from sandwiches to hearty slices slathered with butter. The secret lies in understanding the components that contribute to moistness—hydration, fats, sugars, and careful baking techniques.
To ensure you bake loaves that are irresistibly soft, we’ll dive into practical tips and proven methods. Ready to uncover the mysteries? Let’s keep going!
The Science Behind Moist Bread
Understanding Hydration in Bread Baking
Hydration is at the heart of bread baking. Simply put, it’s the ratio of water to flour in your dough. This balance is crucial because water activates the gluten, the protein that gives bread its structure. When there’s enough water, gluten strands form a network that traps air, resulting in a light and airy loaf.
Higher hydration doughs (those with more water) tend to produce bread with a softer, more open crumb. However, striking the right balance is essential; too much water can make the dough unmanageable and sticky. So, while a wetter dough often yields better results, learning to handle it properly is key.
The Role of Gluten Development
Gluten is the unsung hero of bread making. It’s responsible for the elasticity and chewiness of the final product. The right amount of moisture ensures gluten can stretch and create a framework that traps air bubbles during fermentation.
If the gluten isn’t developed enough, the dough can collapse or result in dense bread. Conversely, overworked gluten can make the bread tough. Understanding how hydration and kneading work together is critical for crafting moist, flavorful bread.
The Function of Fats and Sugars
Fats, such as butter or olive oil, act as natural tenderizers. They coat the flour particles, reducing gluten formation and creating a softer crumb. Sugars, on the other hand, do double duty: they add sweetness and help retain moisture during baking.
Using ingredients like milk, eggs, or honey can also enhance the bread’s texture by contributing fats and sugars. These ingredients don’t just moisten the dough; they enrich the flavor profile, elevating the bread from basic to bakery-worthy.
Secrets to Achieving Moist Homemade Bread
Choosing the Right Flour
Not all flours are created equal. High-protein flours, like bread flour, are great for structure but can absorb more water, which may lead to drier bread if not balanced properly. Lower-protein flours, such as all-purpose, may yield a softer texture. The secret is finding the right type for your desired result and understanding its absorption rate.
Optimal Dough Hydration Levels
A common mistake is not measuring water and flour accurately. For most breads, the hydration level (percentage of water compared to flour) should be around 60–70%. Higher hydration levels, sometimes up to 80%, can result in beautifully moist bread but require careful handling to avoid overly sticky dough.
Adding Moisture-Retaining Ingredients
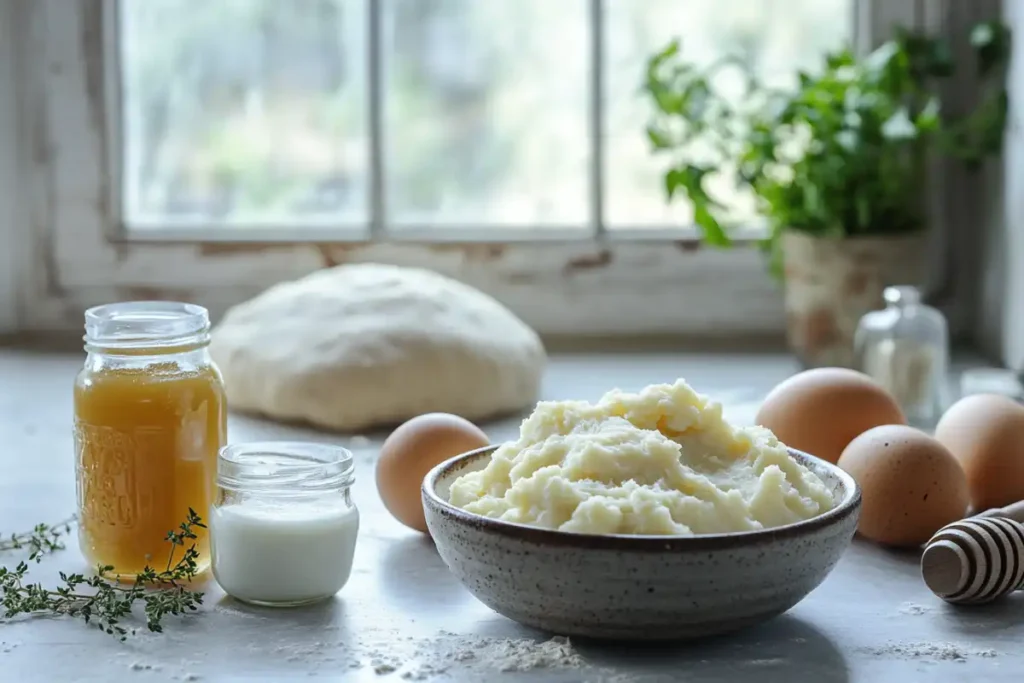
Certain ingredients are moisture champions. Dairy products like milk or yogurt, starchy add-ins like mashed potatoes, and sweeteners like honey or molasses all enhance a bread’s moisture level. These not only lock in hydration but also contribute to a tender, fluffy texture.
Kneading Techniques for Moist Bread
Kneading is a delicate balance. Over-kneading can over-develop gluten, making the bread chewy and dry. On the other hand, under-kneading results in poor structure, causing the bread to collapse. A good rule of thumb is to knead until the dough feels elastic and smooth but not overly tight.
Perfecting Proofing and Fermentation
Proofing isn’t just about letting the dough rise—it’s also a critical step for moisture. Covering the dough during fermentation prevents a dry skin from forming, which can affect the final texture. Longer proofing times at lower temperatures allow flavors to develop and help the dough retain moisture more effectively.
Using Steam in Baking
Steam is a game changer. Adding steam to your oven during the first 10–15 minutes of baking helps the bread rise properly while forming a soft, shiny crust. To create steam at home, place a pan of hot water in the oven or spritz the walls with water before baking.
Post-Baking Practices
How you treat bread after it comes out of the oven matters, too. Allowing bread to cool on a rack ensures even moisture distribution. Storing it in breathable bags or wrapping it in a clean cloth helps retain moisture without making it soggy.
Common Mistakes That Lead to Dry Bread
Using Incorrect Flour Ratios
Bread baking is as much a science as it is an art. One of the most common errors is not measuring ingredients accurately. Too much flour in relation to water creates a stiff dough, leading to a dry and crumbly loaf. Always use a kitchen scale for precise measurements to ensure your bread stays moist and soft.
Skipping Proofing Steps
Rushing through the proofing process is another frequent mistake. Proper proofing allows gluten to relax and air pockets to develop, which contributes to a light, tender crumb. Under-proofed dough leads to dense, dry bread that lacks elasticity and softness.
Overbaking the Bread
Timing is everything in baking. Leaving bread in the oven too long results in excessive moisture loss. Bread should be golden brown and have an internal temperature of about 190–200°F (88–93°C) when done. Using a kitchen thermometer can take the guesswork out of achieving the perfect bake.
Not Measuring Ingredients Properly
Baking bread without accurate measurements often results in inconsistent texture. For instance, adding too much salt or sugar can interfere with yeast fermentation, impacting both flavor and moisture retention. Always weigh your ingredients for best results.
Recipes and Examples of Moist Homemade Bread
There’s nothing like biting into a perfectly moist loaf of homemade bread, and with the right recipes, anyone can achieve that bakery-quality texture. Here are a few tried-and-true recipes and ingredient ideas that will have you turning out irresistibly soft bread every time.
Classic Moist White Bread Recipe

White bread is a household favorite, and getting it just right is easier than you think. This recipe balances hydration, fats, and sugar to create a soft, fluffy loaf.
Ingredients:
- 4 cups all-purpose flour
- 1 cup warm milk
- 2 tablespoons butter, softened
- 2 tablespoons sugar
- 2 teaspoons salt
- 2 1/4 teaspoons active dry yeast
Instructions:
- Dissolve the yeast in warm milk with sugar and let it bloom for 5–10 minutes.
- Combine flour and salt in a bowl. Gradually add the yeast mixture and butter, mixing until a soft dough forms.
- Knead for 8–10 minutes until smooth and elastic.
- Cover and proof for 1–2 hours until doubled in size.
- Shape the dough, place in a greased loaf pan, and let it rise again.
- Bake at 375°F (190°C) for 25–30 minutes, using steam for a soft crust.
The result? A tender, pillowy loaf perfect for sandwiches or toast!
Soft Whole Wheat Bread Recipe
Whole wheat bread often gets a bad rap for being dense or dry, but this recipe ensures a moist and flavorful loaf.
Ingredients:
- 3 cups whole wheat flour
- 1/2 cup warm water
- 1/4 cup honey
- 2 tablespoons olive oil
- 1 teaspoon salt
- 2 teaspoons active dry yeast
Instructions:
- Bloom the yeast in warm water with honey.
- Add the remaining ingredients and mix until a soft dough forms.
- Knead for 10 minutes until the dough is pliable.
- Proof in a warm place for 1 hour or until doubled.
- Shape, proof again, and bake at 375°F (190°C) for 30 minutes.
This bread stays moist thanks to the olive oil and honey, making it a great choice for health-conscious bakers.
Adding Unique Ingredients for Extra Moisture

For a twist, try incorporating moisture-rich ingredients like mashed potatoes, yogurt, or bananas. For example, a potato bread recipe can turn out incredibly soft and moist due to the natural starches in the potatoes. Similarly, using yogurt in bread dough adds a tangy richness and helps the loaf retain moisture for days.
These recipes and techniques prove that achieving moist homemade bread is as much about creativity as it is precision. Try one or all of these ideas to elevate your bread-baking game!
FAQs About Moist Homemade Bread
What are the best ingredients for moist bread?
The best ingredients include milk, butter, eggs, yogurt, and honey. These not only add richness but also retain moisture throughout the baking process. Additionally, adding mashed potatoes or sweet potatoes can enhance softness and extend the bread’s shelf life.
How does proofing affect bread moisture?
Proofing plays a critical role in determining moisture. Proper proofing allows the dough to develop air pockets, which helps the bread rise and remain soft. Over-proofing or under-proofing, however, can lead to dense and dry bread. Covering the dough during proofing also prevents the surface from drying out.
Is it better to use milk or water for bread dough?
Milk creates a richer and softer loaf due to its fats and proteins. Water, on the other hand, results in a lighter texture and a slightly crisper crust. For moist bread, many bakers prefer milk or a combination of milk and water.
Can I make moist bread without a mixer?
Absolutely! Hand-kneading is a great way to create moist bread. While it may take more effort, it allows you to control the dough’s texture and hydration more closely. Using a dough scraper can make handling wetter doughs easier.
Why does my bread turn out dry after baking?
Dry bread can result from overbaking, using too much flour, or insufficient proofing. Ensure accurate ingredient measurements, proof until the dough doubles, and use a thermometer to avoid overbaking. Post-baking practices, like cooling on a rack, also help retain moisture.
How do I store homemade bread to keep it moist?
To keep bread moist, store it in an airtight bag or a clean, dry cloth at room temperature. Avoid refrigeration, as it accelerates staling. Freezing bread in slices can preserve moisture for extended periods.
Conclusion
Summing Up the Secrets to Moist Bread
Creating moist homemade bread is a delicate balance of science and artistry. From choosing the right ingredients and perfecting hydration levels to incorporating techniques like steaming and proper proofing, every step contributes to the final result.
The key to success lies in understanding the role of each ingredient and baking process. Mistakes like overbaking or skipping proofing can be easily avoided with careful attention. Using enriching ingredients like milk, butter, or honey can elevate the softness and flavor of your bread.
Encouragement to Experiment and Bake
Don’t be afraid to experiment with unique add-ins or try different hydration levels. With a little practice, you’ll master the art of making homemade bread that’s irresistibly moist and delicious. Whether you’re crafting a classic white loaf or a hearty whole wheat variation, remember—the journey to moist bread is as satisfying as the final bite!

