Master the Perfect Crisco Pie Crust Recipe for Flaky Results
Making the perfect pie crust can seem like a daunting task, but with the Crisco pie crust recipe, it’s much simpler than you might think. This guide will walk you through everything you need to know—from selecting the right ingredients to troubleshooting common issues. By the end, you’ll have a flaky, tender crust that’s perfect for sweet and savory pies.
Let’s dive into the art of pie-making, starting with the essentials.
Table of Contents
Introduction to Crisco Pie Crust
History of Crisco in Baking
Crisco has been a pantry staple for over a century. Introduced in 1911, this vegetable shortening quickly gained popularity among home bakers for its ability to produce exceptionally tender and flaky baked goods. Unlike butter, which contains water, Crisco is pure fat, making it ideal for creating a flaky pie crust that holds its shape beautifully.
During the early 20th century, Crisco revolutionized baking by offering a plant-based alternative to lard. This innovation not only appealed to health-conscious bakers but also provided consistent results that were hard to achieve with other fats. Today, Crisco remains a go-to ingredient for pie crusts, biscuits, and countless other baked goods.
The Crisco pie crust recipe has become a go-to solution for bakers seeking a consistently flaky and tender crust.
Why Choose Crisco for Pie Crusts?
Using Crisco in pie crust recipes ensures a balance between tenderness and flakiness. The unique texture of vegetable shortening makes it easier to work with compared to butter, especially for beginner bakers. Plus, its neutral flavor doesn’t overpower the filling, allowing the pie’s ingredients to shine.
Another advantage of Crisco is its high melting point, which keeps the dough from becoming too soft as you work with it. This is particularly helpful in warm kitchens where butter might start to melt too quickly. Whether you’re making a classic apple pie or a savory quiche, homemade pie crust made with Crisco is reliable and delicious.
Ingredients for Crisco Pie Crust
Essential Ingredients for a Flaky Crisco Pie Crust
Creating the perfect Crisco pie crust recipe begins with just a handful of simple ingredients. Each component plays a crucial role in the final texture and flavor of the crust.
- All-purpose flour: The backbone of any pie crust, providing structure and stability. Opt for a high-quality flour for consistent results.
- Salt: A small but essential addition that enhances flavor and balances the richness of the shortening.
- Crisco shortening: The star of the show! This vegetable shortening ensures a tender, flaky texture that’s difficult to achieve with butter alone.
- Ice water: The secret to a workable dough. Ice-cold water keeps the shortening solid, helping the dough maintain its structure while being rolled out.
Selecting the Right Flour
Not all flours are created equal! For pie crusts, all-purpose flour works best because of its moderate protein content. Too much protein (like in bread flour) can make the crust tough, while too little (like in cake flour) might not hold together. When measuring flour, use the spoon-and-level method to avoid packing too much into the cup, which can lead to a dry dough.
The Role of Salt in Pie Dough
Salt might seem like a minor ingredient, but it’s essential for elevating the flavor of your pie crust. Without it, the crust might taste flat or bland. Use fine sea salt or table salt for even distribution throughout the dough. Avoid coarse salts, as they may not dissolve properly and can create a grainy texture.
Importance of Cold Water
Ice water is a non-negotiable for pie crust success. Cold water ensures that the shortening doesn’t melt during the mixing process. This helps create those desirable pockets of fat in the dough, which turn into flaky layers when baked. Add the water gradually, one tablespoon at a time, to avoid overhydrating the dough.
Step-by-Step Guide to Making Crisco Pie Crust

Preparing the Dough
The process begins by combining the dry ingredients—flour and salt—in a large mixing bowl. Stir them together with a fork or whisk to ensure even distribution. Next, cut the Crisco shortening into small pieces and add it to the bowl.
Using a pastry cutter or two knives, blend the shortening into the flour mixture until it resembles coarse crumbs. These small chunks of shortening will melt during baking, creating the signature flaky layers that make this crust so irresistible.
Gradually add ice water, one tablespoon at a time, mixing gently with a fork after each addition. Stop as soon as the dough comes together without being sticky. Overmixing can lead to a tough crust, so handle it with care!
Chilling the Dough
Once the dough has formed, divide it into two equal portions (if making a double crust) and shape each into a disc. Wrap the discs in plastic wrap and refrigerate for at least 30 minutes. This step is critical as it allows the gluten in the flour to relax, making the dough easier to roll out.
Chilling also solidifies the shortening, helping to maintain its structure as you work. Skipping this step could result in a dough that’s too soft and challenging to handle.
To get the best results, roll out the dough as described in the Crisco pie crust recipe, ensuring even thickness and smooth edges.
Rolling Out the Dough
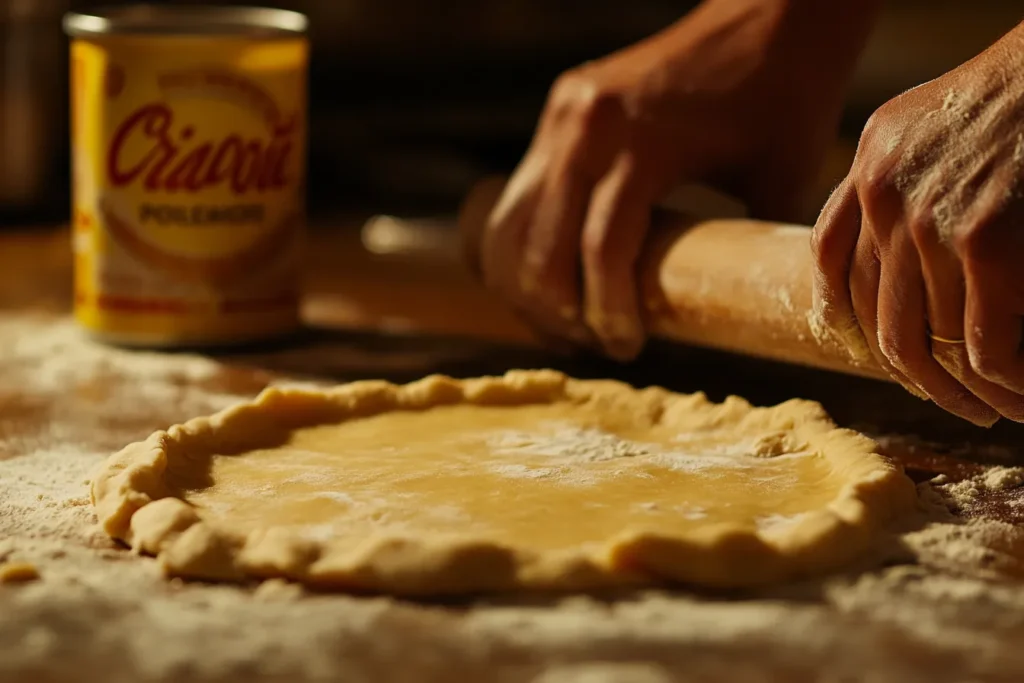
Sprinkle a clean work surface and rolling pin with flour to prevent sticking. Place one disc of chilled dough on the surface and begin rolling from the center outward. Rotate the dough frequently to maintain a circular shape and prevent it from adhering to the counter.
Aim for a thickness of about 1/8 inch. If the edges crack slightly, don’t worry—that’s normal! Simply pinch them back together as you roll. Be gentle and patient; overhandling can compromise the flaky texture.
Transferring Dough to Pie Plate
Carefully roll the dough onto the rolling pin, then unroll it over your pie plate. Press it gently into the plate, making sure it fits snugly along the bottom and sides without stretching. Trim any excess dough, leaving a 1-inch overhang around the edges.
Crimping and Fluting Techniques

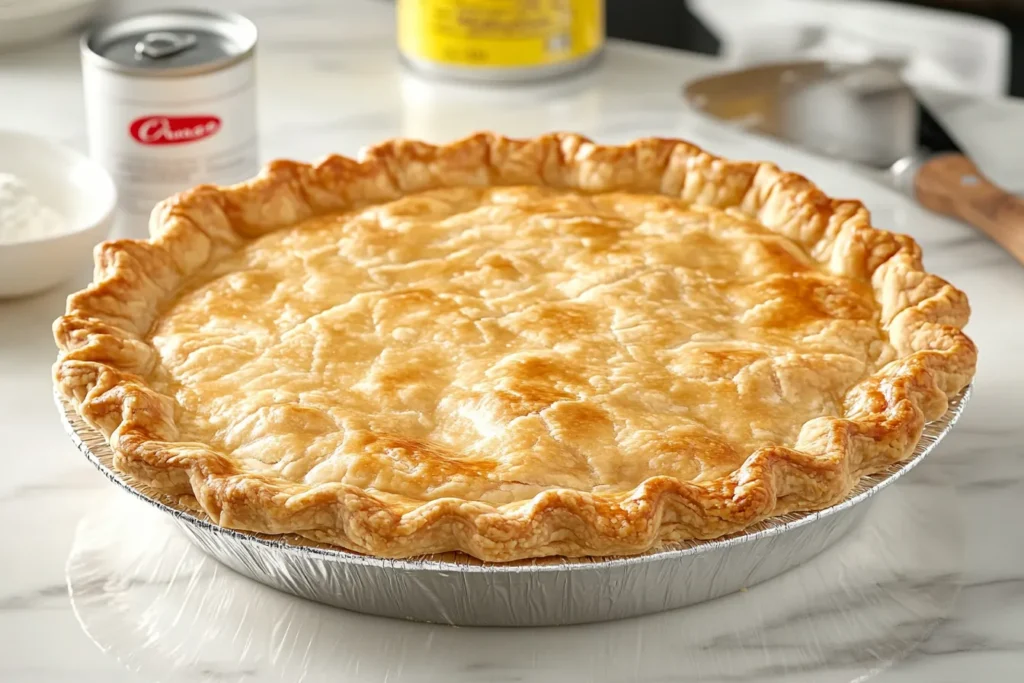
For a polished finish, fold the overhanging dough under itself to create a thick edge. Then, use your fingers or the tines of a fork to crimp the edges. If you’re feeling creative, try fluting the crust for a decorative touch.
Baking the Crust
Blind Baking Explained
Blind baking is an essential technique for ensuring your pie crust is fully cooked and doesn’t become soggy. This method is particularly useful for pies with no-bake fillings, like cream pies, or for pies that require a long baking time for the filling.
To blind bake, start by preheating your oven to 375°F (190°C). Line your prepared crust with parchment paper or aluminum foil, then fill it with pie weights, dried beans, or uncooked rice. These weights prevent the crust from puffing up or shrinking during baking.
Bake the crust for 12-15 minutes, or until the edges begin to turn a light golden color. Remove the weights and parchment paper, then return the crust to the oven for another 5-7 minutes to allow the bottom to cook through.
Preventing a Soggy Bottom
Nobody enjoys a soggy pie crust! To prevent this common issue, consider brushing the blind-baked crust with an egg wash (a mixture of beaten egg and water) and baking it for an additional 2 minutes. This creates a seal that helps repel moisture from the filling.
Another trick is to ensure your filling isn’t overly watery. For fruit pies, toss the fruit with a thickening agent like cornstarch or tapioca before adding it to the crust.
Temperature Control Matters
When baking a pie with the filling already in the crust, start at a higher temperature (around 400°F or 205°C) for the first 10-15 minutes. Then reduce the heat to 350°F (175°C) for the remainder of the baking time. This method helps the crust set quickly and retain its structure while the filling cooks through.
Variations of Crisco Pie Crust
Adding Sugar for Sweet Pies
If you’re making a dessert pie, such as a classic apple or luscious chocolate cream pie, consider adding a touch of sugar to the dough. A tablespoon of granulated sugar mixed with the flour enhances the flavor and complements sweet fillings beautifully. The sugar also helps the crust develop a deeper golden hue during baking.
Incorporating Herbs for Savory Pies
For savory pies like quiches or pot pies, a dash of freshly chopped herbs can elevate the flavor of your homemade pie crust. Rosemary, thyme, or sage are excellent choices, blending harmoniously with savory fillings. Simply mix 1-2 teaspoons of finely chopped herbs into the flour before adding the Crisco shortening.
Using Butter-Flavored Crisco
Want the buttery flavor without compromising the tender texture of a vegetable shortening pie crust? Try butter-flavored Crisco. This variation imparts a rich, buttery taste while retaining the flakiness and ease of handling that Crisco is known for.
Adding Cocoa Powder for Chocolate Crusts
For a fun twist, especially for chocolate or peanut butter pies, incorporate 1-2 tablespoons of unsweetened cocoa powder into the dry ingredients. This small addition transforms the pie crust into a chocolaty treat that pairs well with a variety of fillings.
Troubleshooting Common Pie Crust Issues
Preventing Shrinkage
One of the most frustrating issues with pie crusts is shrinkage, where the dough pulls away from the edges during baking. To avoid this:
- Don’t overstretch the dough: When fitting it into the pie plate, avoid pulling or tugging the dough. Stretching causes tension, leading to shrinkage during baking.
- Chill before baking: After crimping the edges, refrigerate the crust for at least 15 minutes to relax the gluten. This helps it hold its shape in the oven.
- Use pie weights: When blind baking, ensure the weights are evenly distributed to anchor the crust in place.
Achieving the Perfect Flake
Flakiness is what sets a good pie crust apart, but getting there can be tricky. Here’s how to ensure your crust is delightfully flaky:
- Keep ingredients cold: Cold Crisco shortening and ice water are non-negotiable. Warm ingredients melt the fat too early, reducing flakiness.
- Don’t overwork the dough: Overmixing can lead to the shortening being too finely incorporated, resulting in a tougher crust. Aim for a crumbly texture when cutting the shortening into the flour.
- Roll carefully: Use a light touch when rolling out the dough. Pressing too hard can compact the layers, sacrificing flakiness.
Fixing Cracks in the Dough
Cracks can form if the dough is too dry or too cold. To fix this:
- Lightly moisten the edges with a small amount of water and press the cracks together.
- If the dough becomes unworkable, let it sit at room temperature for a few minutes before trying again.
Dealing with Tough Crusts
A tough crust often results from overmixing or adding too much water. To avoid this:
- Add water slowly and stop as soon as the dough holds together when pinched.
- Mix just until the ingredients come together; the dough doesn’t need to be smooth.
Storing and Freezing Pie Dough
Refrigeration Tips
If you’re not using your Crisco pie crust recipe immediately, refrigeration is a simple way to store it for later. Wrap the dough tightly in plastic wrap to prevent it from drying out. It can be refrigerated for up to 3 days.
Before rolling out the dough, allow it to sit at room temperature for about 10-15 minutes to soften slightly. Cold dough is easier to handle but can crack if it’s too firm.
Freezing Unbaked Dough
For long-term storage, freezing is an excellent option. Wrap the dough in plastic wrap, then place it in an airtight freezer bag or container to prevent freezer burn. Label the bag with the date for easy reference.
- Whole discs: Perfect for making a pie from scratch later.
- Rolled-out crusts: Roll the dough, place it on a parchment-lined baking sheet, and freeze it flat. Once frozen, stack the sheets with parchment in between, then store in a freezer-safe bag.
Frozen unbaked dough can last up to 3 months. When ready to use, thaw it in the refrigerator overnight.
Thawing and Using Frozen Dough
Thawing pie dough requires a bit of patience. Avoid microwaving it, as uneven thawing can compromise the texture. Instead, place the frozen dough in the refrigerator until it’s pliable but still cold—usually a few hours or overnight.
Once thawed, roll out the dough as usual and proceed with your pie-making. If the dough feels too soft after thawing, pop it back into the fridge for 10-15 minutes before working with it.
Frequently Asked Questions
What is the secret to a flaky pie crust?
The key to achieving a flaky pie crust lies in keeping the ingredients cold and working the dough as little as possible. Cold Crisco shortening creates fat pockets in the dough, which melt during baking to form flaky layers. Additionally, use ice-cold water and refrigerate the dough before rolling it out to prevent the shortening from softening prematurely.
Can I substitute butter for Crisco in this recipe?
Yes, you can substitute butter for Crisco, but the texture will be slightly different. Butter adds a rich flavor but contains water, which can result in a less tender crust. If you prefer a balance, consider using half butter and half Crisco for the best of both worlds.
How do I prevent my pie crust from burning?
To prevent the edges of your pie crust from burning, cover them with a pie shield or strips of aluminum foil once they start to turn golden. If baking the crust alone, check it frequently during the last few minutes and adjust the temperature as needed.
Why is my pie crust tough and not tender?
A tough pie crust is often the result of overmixing or overworking the dough. This activates the gluten in the flour, making the crust chewy instead of tender. To avoid this, mix the ingredients just until combined and handle the dough gently when rolling it out.
Can I make this pie crust ahead of time?
Absolutely! The dough can be made up to 3 days in advance and stored in the refrigerator. For longer storage, freeze the dough as outlined earlier. Pre-made dough is a great time-saver for busy bakers.
Is it necessary to use ice-cold water in the dough?
Yes, ice-cold water is crucial. It helps keep the shortening solid during mixing and rolling, which is essential for creating those flaky layers. Room temperature or warm water can cause the shortening to melt, resulting in a dense crust.
Conclusion
Mastering the art of a Crisco pie crust recipe is a rewarding experience that elevates your baking skills and transforms every pie you make. By understanding the role of each ingredient, following a step-by-step process, and learning to troubleshoot common issues, you’ll consistently achieve flaky, tender crusts that wow every guest at the table.
From sweet to savory pies, Crisco offers unmatched versatility, making it an essential ingredient for both beginners and seasoned bakers. And with tips on storing, freezing, and creative variations, this guide ensures that you’re prepared for any pie-making endeavor.
Now it’s time to roll up your sleeves, gather your ingredients, and start crafting your perfect pie crust. Whether for a holiday feast, a comforting family dinner, or a weekend treat, a homemade pie with a flaky Crisco crust is always worth the effort.
FOR MORE DELICIOUS RECIPES:

